If you wish to request a new photo ID card, please write to HJSS at JP@justice.vic.gov.au and provide the following details:
- Your full name
- Your HJ registration number
- Your current postal address (to ensure your card arrives at the correct address)
- A digital photo. Follow these instructions below on how to take a new photo
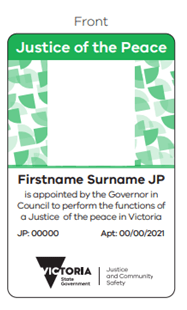
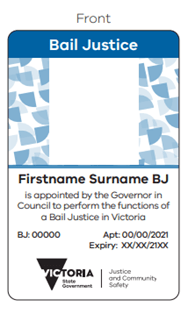
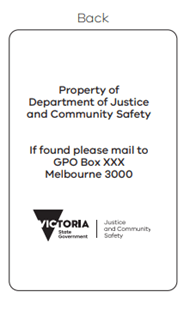
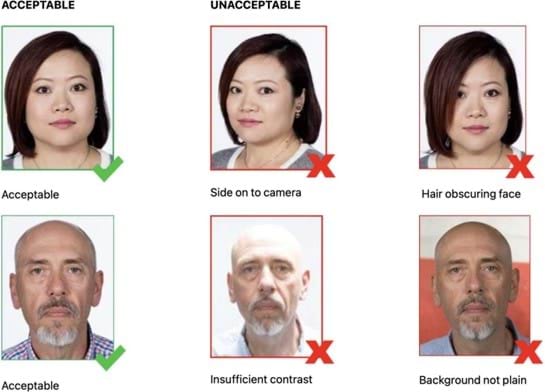
Photo ID cards - examples
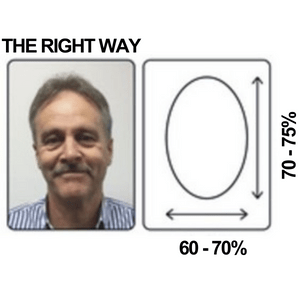
How to take a good digital photo
As a representative of the Department of Justice and Community Safety, it’s important that your identification photos are professional, clear and of an acceptable quality.
Ask a friend for help
It’s much easier to take an acceptable photo with someone else’s help. Alternatively, you can purchase passport-quality photographs instantly at participating Post Offices or Officeworks stores.
- Minimum dimensions: 900 x 1200 pixels
- File size: greater than 500KB and less than 3MB
- Portrait orientation
- Face fills 75% of photo
- In focus and clearly visible
JPG, PNG, PCT file formats are accepted.
Steps to follow when someone else is taking your photo with a camera or mobile phone
Set up – Lighting
- Find a well-lit space with a plain light-coloured background – for example, pale greys and blues work better than white
- Avoid standing directly under a light source as it can create glare and shadows
- Your light source will be most effective behind and above your photographer.
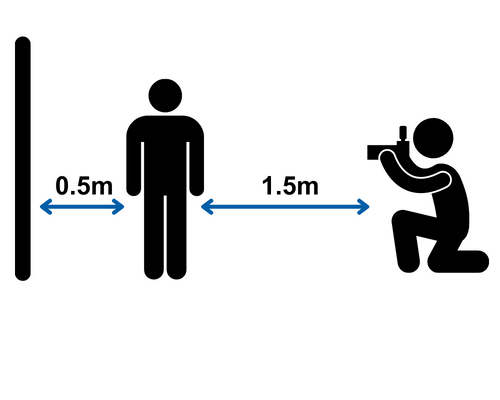
Set up – Where to stand
- Stand 0.5 metres in front of your background, to help reduce shadows
- The photographer should stand 1.5 metres away from you, to help keep your facial features in focus
- The photographer should hold the camera at your eye level, to help you avoid tilting your head up or down
- Select your best photo to download to your computer or laptop to print or email.
Taking the photo with your mobile phone
- Open the camera on the mobile device and take the photo
- It may take a couple attempts to get a clear photo with neutral expression, no blur and no shadows behind you
- Open the Photos application on your phone and select your best photo.
Edit your photo
- Press the appropriate Edit button.
Straighten your photo
- If needed, straighten your image by dragging the Straighten dial under (usually under the photo).
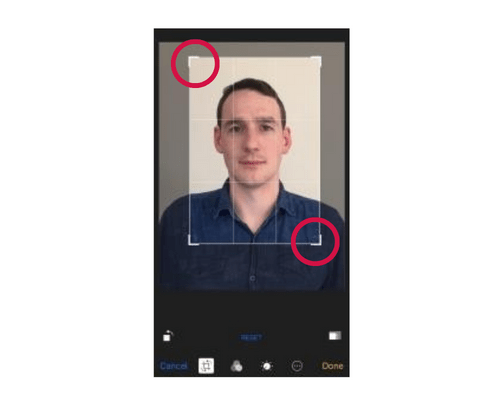
Crop and zoom your photo
- You should be able to see your shoulders and gap around your head, including hair and ears
- Drag any corner of the frame to crop the image.
Save your photo
- When you are happy with the changes, press Done.
Email the photo to yourself
- Send the photo to yourself using your phone's email function. (Other applications may compress the file, making it unsuitable)
- Send it as the actual size to maintain high quality of photo.
- Enter the appropriate email address, then press Send.
Save the photo from your email
- Log in to your email account on a computer or laptop
- Open the email and the attached photo, and then save your photo
- Save your photo somewhere you can easily find it again, such as your desktop.
Updated